|
Gardens Ablaze |
||
|
|
Seed Starting
Tips |
|
|
Related Links Printable Seed Packet Template Site Map
Home
|
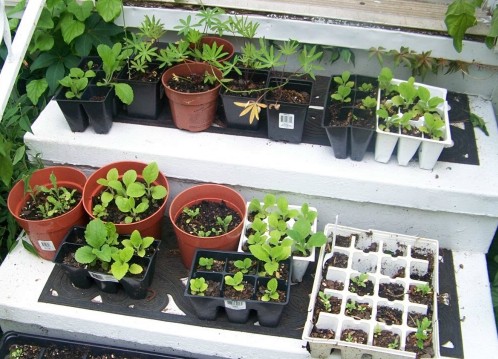
Tip 2: Set seed containers on a tray or cookie sheet so that you can water from below to avoid disturbing the seeds. Jumbo egg cartons with the tops cut off and used as the bottom tray work perfectly for this - don't forget to punch holes in each egg cup so the water can soak upward. Tip 3: Use a salt shaker to distribute tiny seeds evenly, then tamp lightly to ensure good contact with the soil. Tip 4: Use a high quality soilless mix specially formulated for seed starting. You will be amazed at the results. With proper seeding and a proper seed starting mix, seeds that say they will take 7 days to germinate often sprout in 3. Soilless mixes do not have nutrients that plants need, so fertilize every time you water with half strength water-soluble fertilizer such as Miracle-Gro. Tip 5: Seed sparingly in whatever container you have chosen. Crowded seedlings are weak, spindly, and more prone to diseases. Therefore plant fewer seeds or use larger containers for the best results. Tip 6: It's not air temperature or sunlight that makes seed germinate - it's soil temperature. Most seedlings appreciate some bottom warmth for the best germination rates. This can be as simple as putting the pots on top of the refrigerator or on a pallet over a heating vent. Heat mats specially made for germinating seed can also be bought from most garden centers.
Custom Search
|
|
|
Gardens Ablaze |
||
 Tip 1: Sow seed in covered containers in a sheltered place
in the winter. When they germinate in spring, they are already cold
hardy and do not need to be hardened off. This works for most spring
and summer grown crops and flowers.